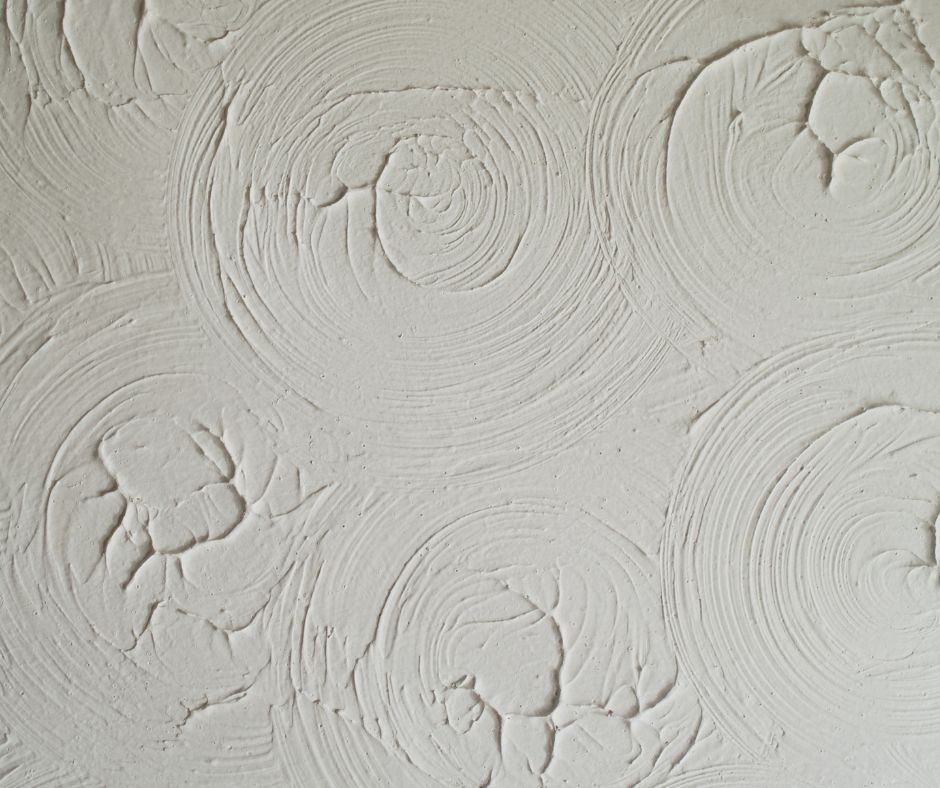
Freshly plastered walls or ceilings are the ideal blank canvas, once your plastering work is complete, but if you skip one essential step, your paint might peel, flake, or look uneven.
At P3 Plastering, one of the most common questions we’re asked is:
“Do I need to prime new plaster before painting?”
The answer? Absolutely, yes. And here’s everything you need to know.
Table of Contents
Why You Must Prime Plaster Before Paint
Priming isn’t just a nice-to-have — it’s essential. Newly plastered walls may look smooth, but beneath the surface they are highly porous and chalky. If you apply paint directly to bare plaster, it will absorb unevenly, wasting paint and ruining your finish.
Here’s what typically happens when you skip priming:
Soaks in too fast
Fresh plaster acts like a sponge. Without a primer or mist coat, paint gets absorbed rather than sitting on the surface.
Adheres unevenly
Some areas absorb more paint than others, leaving behind a patchy or streaky finish.
Wastes more paint
You’ll use more paint just to get basic coverage, driving up time and cost.
May peel or flake
Without a sealed base, paint may not bond well, especially in humid rooms, leading to cracking or peeling.
By applying the correct primer, whether a mist coat or a specialist sealer, you create a stable, uniform surface. The result is a smooth, long-lasting finish that resists wear and looks great for years to come.
If you’re still at the decision stage, here’s what to look for in a good plasterer before decorating even begins.
What Happens If You Don’t Prime?
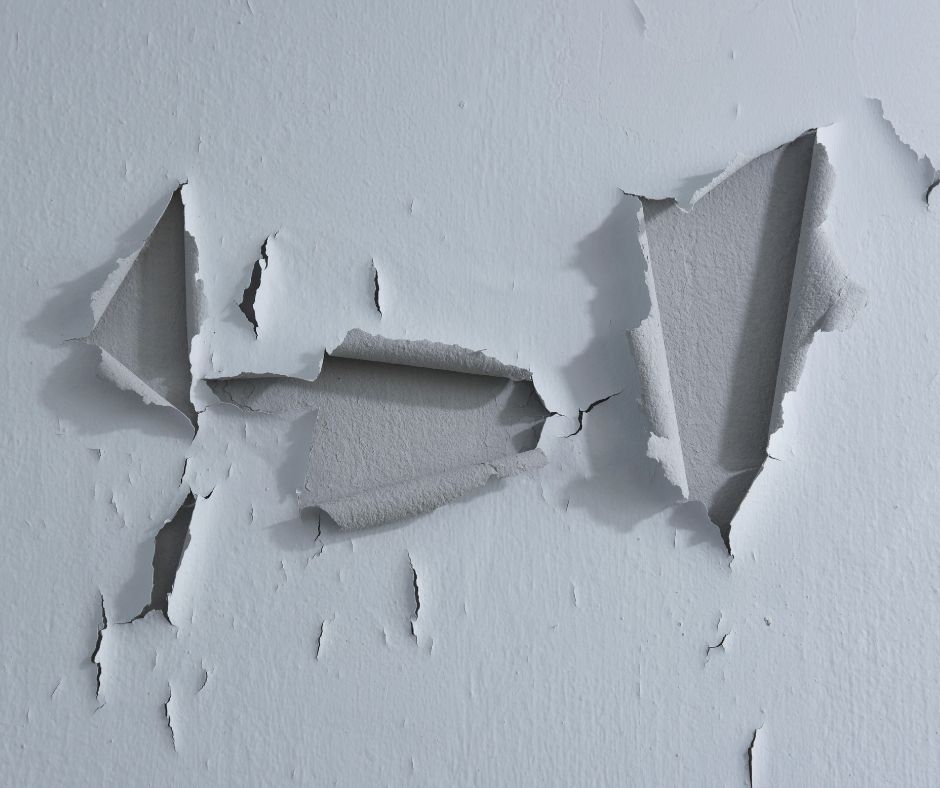
Skipping the priming stage can seem like a shortcut, but it often leads to disappointing and expensive results. Without sealing, your topcoat simply won’t perform the way it should.
Here are the most common problems we see when people don’t prime plaster before paint:
- Peeling and cracking – Especially in areas like kitchens or bathrooms.
- Blotchy finish – Uneven absorption creates dull patches that no topcoat can fully fix.
- Discolouration – Natural salts and minerals in the plaster can bleed through and stain your paint.
- Higher paint usage – Unsealed plaster soaks up paint quickly, requiring more coats to cover.
If you’re already seeing any of these issues, you may need to revisit your prep work. For guidance, check out our post on signs you need to replaster your walls.
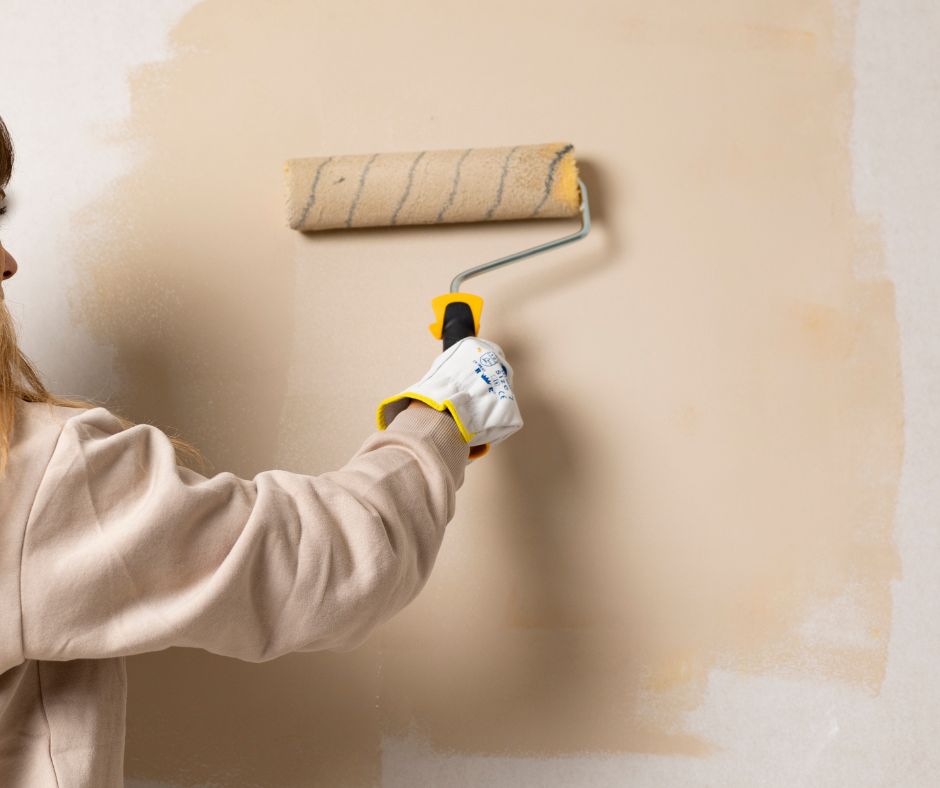
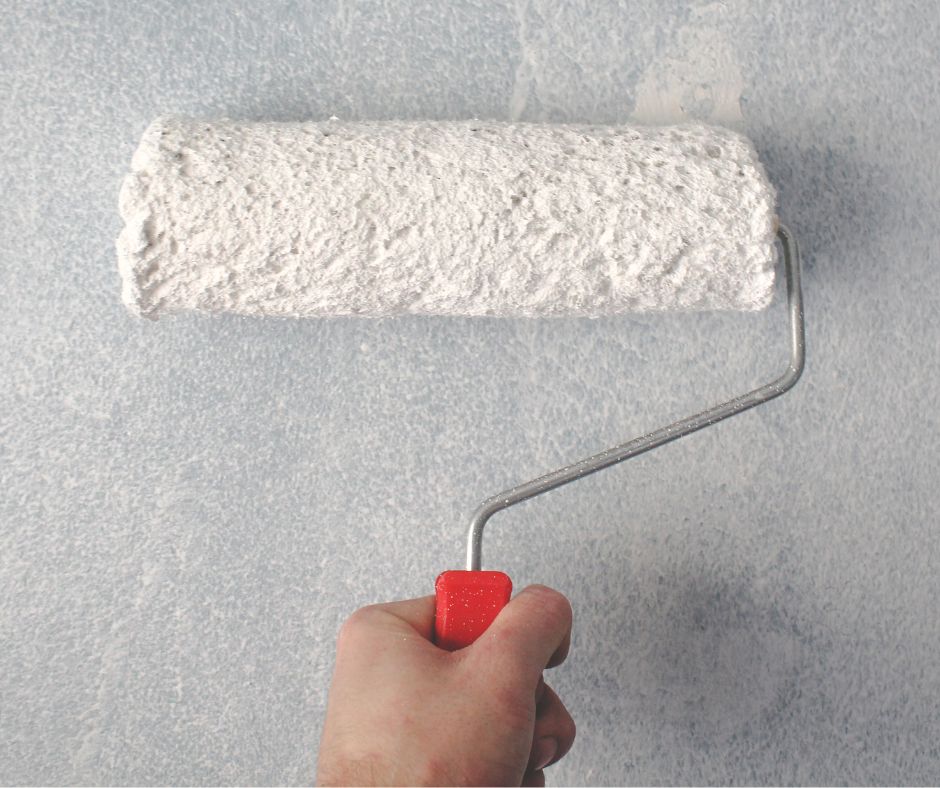
How to Prime Plaster Before Paint
You have two main options for sealing new plaster: a DIY mist coat or a specialist plaster primer. Here’s how to choose the right method and apply it correctly.
Option 1: Mist Coat (DIY Method)
A mist coat is a diluted emulsion paint used to seal fresh plaster before painting. It’s budget-friendly, simple to apply, and widely used.
How to do it:
- Use non-vinyl matt emulsion (a cheap trade white is ideal)
- Mix 70% paint to 30% water
- Stir thoroughly for an even consistency
- Apply with a medium-nap roller or brush
- Allow to dry for 6–12 hours
🔧 Pro tip: Always cut in the edges with a brush before rolling. It gives a neater, more professional finish.
Important:
Avoid using PVA in place of a mist coat. While some online sources suggest it, PVA creates a water-resistant film that can stop your paint from sticking properly.
Option 2: Specialist Plaster Primer
If you’re painting a high-traffic or high-moisture area (like kitchens or bathrooms), or you just want the best result possible, a specialist primer is the way to go.
These products are designed to:
- Seal and stabilise fresh plaster
- Improve paint adhesion
- Reduce the number of finishing coats
- Prevent patchiness or discolouration
Popular options include:
- Dulux Trade Supermatt – Great for freshly plastered walls
- Leyland Trade Acrylic Primer – Excellent for general use
- Zinsser Gardz – Especially good for chalky or repaired plaster
They require no dilution and can be applied straight from the tin. They’re more expensive than a mist coat, but they save time and reduce the risk of future problems.
⚙️ Tip: Some primers offer moisture resistance, which is ideal for kitchens, bathrooms, or utility rooms.
Step-by-Step Guide: How to Prime and Paint New Plaster
Even with the right tools and materials, how you apply them matters. Here’s the full process from bare plaster to a perfect finish:
1. Let the Plaster Dry Fully
- Skimmed plaster: 5–7 days
- Full-thickness plaster: 2–3 weeks or more
- Look for an even, pale pink tone — no dark patches
💡 Rushing this step is one of the biggest mistakes. Trapped moisture leads to cracking, peeling, or even mould.
2. Clean the Surface
- Use a soft brush or damp sponge
- Remove dust, plaster residue, or debris
This helps your primer or mist coat bond properly.
3. Apply Mist Coat or Primer
- Use a roller or brush
- Apply evenly, cutting in first around edges
- Don’t worry if it looks patchy — the topcoat will level everything out
4. Allow It to Dry (6–12 Hours)
Drying time will depend on:
- Product type
- Temperature and ventilation
- Room humidity
Open a window or use gentle heating if needed, but avoid direct forced drying.
5. Apply Two Topcoats of Emulsion
- Use quality paint for best coverage
- Let the first coat dry fully before applying the second
- Use thin, even coats for best results
When Can You Paint New Plaster?
Paint too soon, and you risk trapping moisture — which leads to bubbling, mould, or peeling. Wait too long, and dust or debris can compromise your finish.
To check if your plaster is ready:
✅ Pale pink and consistent in colour
✅ Cool and dry to the touch
✅ 5–7 days minimum for skimmed plaster
✅ 2–3+ weeks for full plaster
👉 According to Homebuilding & Renovating, premature painting is one of the top causes of paint failure.
What If the Room Is Cold or Damp?
Don’t rush the drying process — but do help it along sensibly:
- Ventilate the room naturally
- Use radiators for gentle warmth
- Run a dehumidifier on low to reduce excess moisture
- Avoid space heaters or direct fans — they can cause cracks
Consistency is key — you want slow, even drying, not fast drying.
Common Mistakes to Avoid
Here’s what to watch out for when it comes to priming and painting new plaster:
❌ Painting before it’s dry
❌ Using vinyl silk or gloss for base coats
❌ Mixing mist coat incorrectly
❌ Skipping the priming step altogether
Avoid these, and you’ll save yourself rework, cost, and frustration.
Conclusion: Always Prime Plaster Before Paint
Priming is a small step — but it makes a big difference. Whether you’re tackling a single wall or a whole house renovation, always prime plaster before paint to get the best, most durable results.
Need help making sure it’s done right?
📞 Contact us today — the team at P3 Plastering is here to advise, quote, or handle the work for you across Sheffield and South Yorkshire.